Collection
Instruments
2026.06.01
Looper Pedals and Equipment for Practicing Guitar Loops
Looper equipment and accessories to record backing tracks and practice solos like a jam session by yourself
A looper is a small jam room for solo practicing guitarists. You can record a short chord progression first and then layer melodies, solos, or riffs on top, allowing you to practice both accompaniment and lead simultaneously. Unlike playing a backing track, practicing over your own recorded chord progression reveals all aspects of rhythm, chord changes, tone, and solo ideas.
When you first start using a looper, it can be more difficult than expected to accurately hit the start and stop functions with your foot. You might try to create a 4-bar loop, but the end could misalign, or the chords may speed up as you repeat them, leading to an uncomfortable sound. However, this process is precisely what rhythm practice is about. A looper isn't a device that hides mistakes; it is a practice tool that repeatedly showcases your rhythm and timing.
This list is designed for beginner guitarists looking to try a looper pedal for the first time. It includes simple one-button loopers, models with rhythm functions, already made Ditto+ items, and all necessary equipment for real connections, including cables, power supplies, and pedalboards.
When you first start using a looper, it can be more difficult than expected to accurately hit the start and stop functions with your foot. You might try to create a 4-bar loop, but the end could misalign, or the chords may speed up as you repeat them, leading to an uncomfortable sound. However, this process is precisely what rhythm practice is about. A looper isn't a device that hides mistakes; it is a practice tool that repeatedly showcases your rhythm and timing.
This list is designed for beginner guitarists looking to try a looper pedal for the first time. It includes simple one-button loopers, models with rhythm functions, already made Ditto+ items, and all necessary equipment for real connections, including cables, power supplies, and pedalboards.
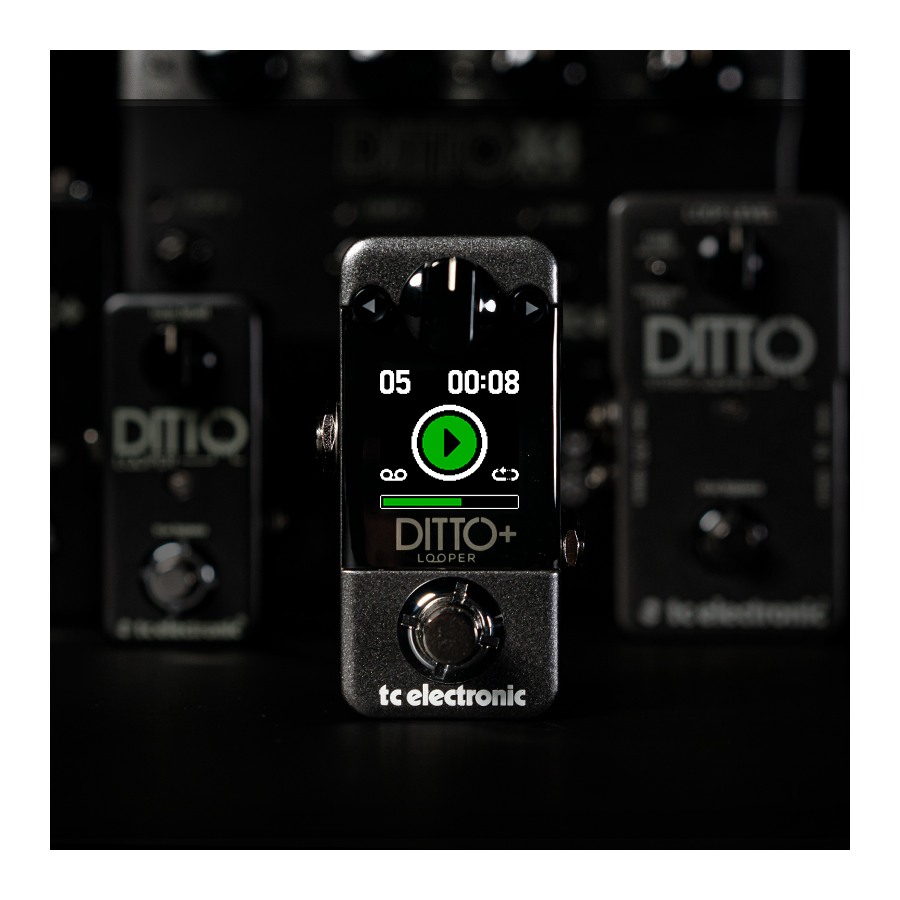
TC Electronic Ditto+ Looper
The Ditto+ Looper is an easy-to-fit looper for small pedalboards. It's best to focus on practicing recording short chord progressions accurately rather than longer loops at first. With a screen to easily check loop status, it's a great device to start practicing solo and chord tones by yourself.
이펙터 역할 반복 녹음·연습 반주
루프 활용 간단한 코드 루프 녹음·반복
추천 대상 작고 직관적인 루퍼를 원하는 입문자
톤 팁 처음에는 짧은 2마디 진행부터 정확히 밟는 연습
연습 팁 2마디 코드 진행부터 정확히 밟는 연습
세팅 메모 일반적으로 드라이브·공간계 뒤쪽에 배치
BOSS RC-5 Loop Station
The BOSS RC-5 is a model that includes not only simple looping but also rhythm and memory functions. You can create chord loops with rhythm even without drums, making it useful for backing track practice. It might have too many features for beginners, but it's great for those looking to create saved routines.
루프 활용 리듬 내장 루퍼·저장형 연습
추천 대상 드럼 리듬과 함께 루프를 쌓고 싶은 사람
연습 팁 내장 리듬에 맞춰 코드 루프를 먼저 정확히 녹음
세팅 메모 외부 풋스위치 확장 여부도 확인
BOSS RC-1 Loop Station
The RC-1 is a pedal ideal for learning the basic principles of looping. Instead of flashy features, it focuses on essential functions like recording, overdubbing, and stopping. You can easily check your current position using the loop indication LED, making it approachable as a first looper.
루프 활용 기본 루프 녹음·오버더빙
추천 대상 복잡한 기능보다 쉬운 조작이 중요한 사람
연습 팁 루프 시작점과 끝점을 발로 정확히 맞추는 연습
세팅 메모 별도 정지 스위치 필요 여부 확인
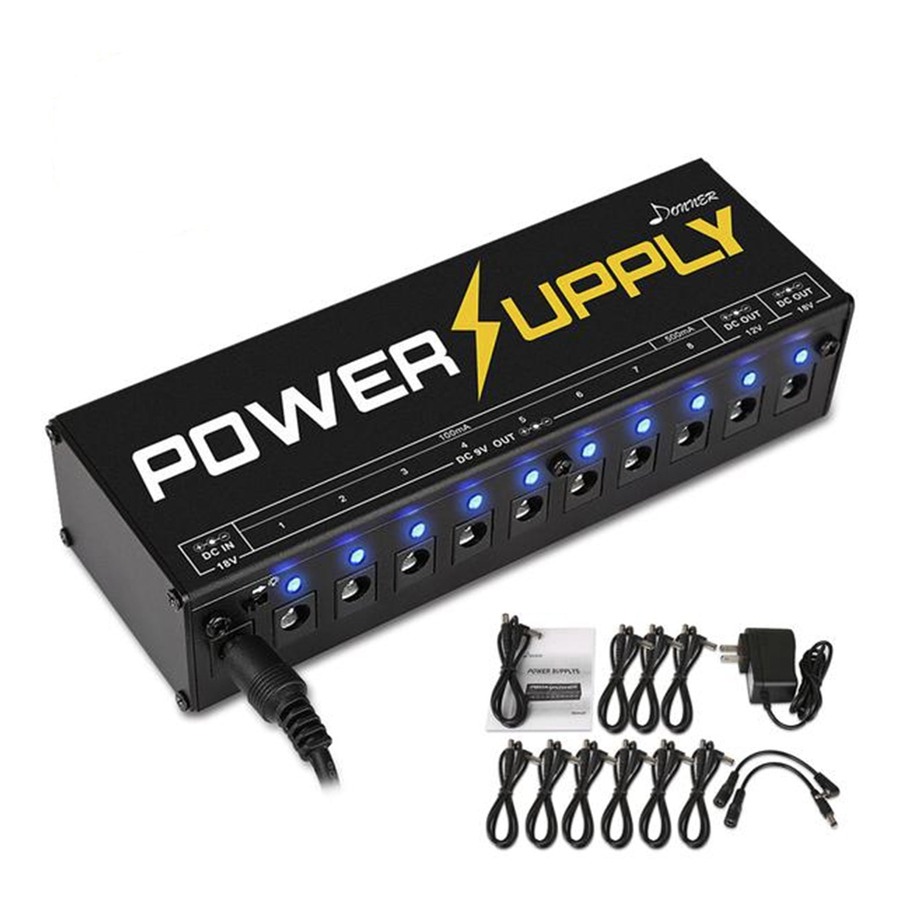
Pedalboard Power Supply
If the power cuts off during practice, the recorded loop can disappear or the flow can break. If you are using multiple pedals, organizing power with a power supply is convenient. It's also important to get into the habit of checking the voltage and current for each pedal.
이펙터 역할 페달 전원 공급
루프 활용 루퍼·이펙터 전원 공급
추천 대상 루퍼와 드라이브·딜레이 페달을 함께 쓰는 사람
톤 팁 전압과 전류가 맞지 않으면 노이즈나 고장이 생길 수 있음
연습 팁 루퍼 전원이 꺼지지 않도록 어댑터 규격 확인
세팅 메모 9V 센터마이너스와 출력 전류 확인
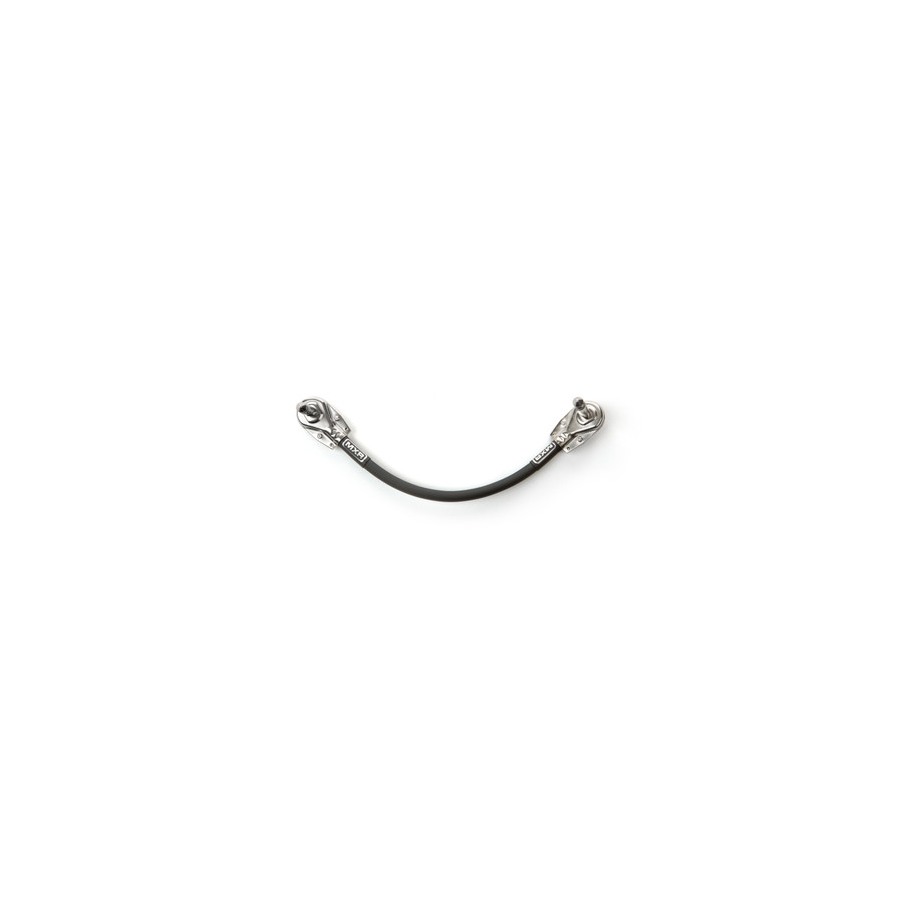
Pedalboard Patch Cable
Pedalboard Patch Cables
When incorporating a looper into a pedalboard, patch cables are essential. If the cable connections are unstable, the entire sound can cut out rather than just the loop, so stable connections are crucial. Flat plugs help save space on smaller boards.
이펙터 역할 페달 간 신호 연결
합주 역할 페달 간 연결
루프 활용 페달 간 신호 연결
추천 대상 루퍼와 드라이브·딜레이 페달을 함께 연결하는 사람
톤 팁 접촉 불량이 있으면 잡음과 신호 끊김이 생김
준비 팁 합주 전 페달 순서와 케이블 접촉 상태 확인
연습 팁 소리가 안 나면 루퍼보다 패치 케이블부터 확인
세팅 메모 보드 공간에 맞는 플러그 형태 선택
주의점 케이블이 당겨지지 않게 보드 위에 정리
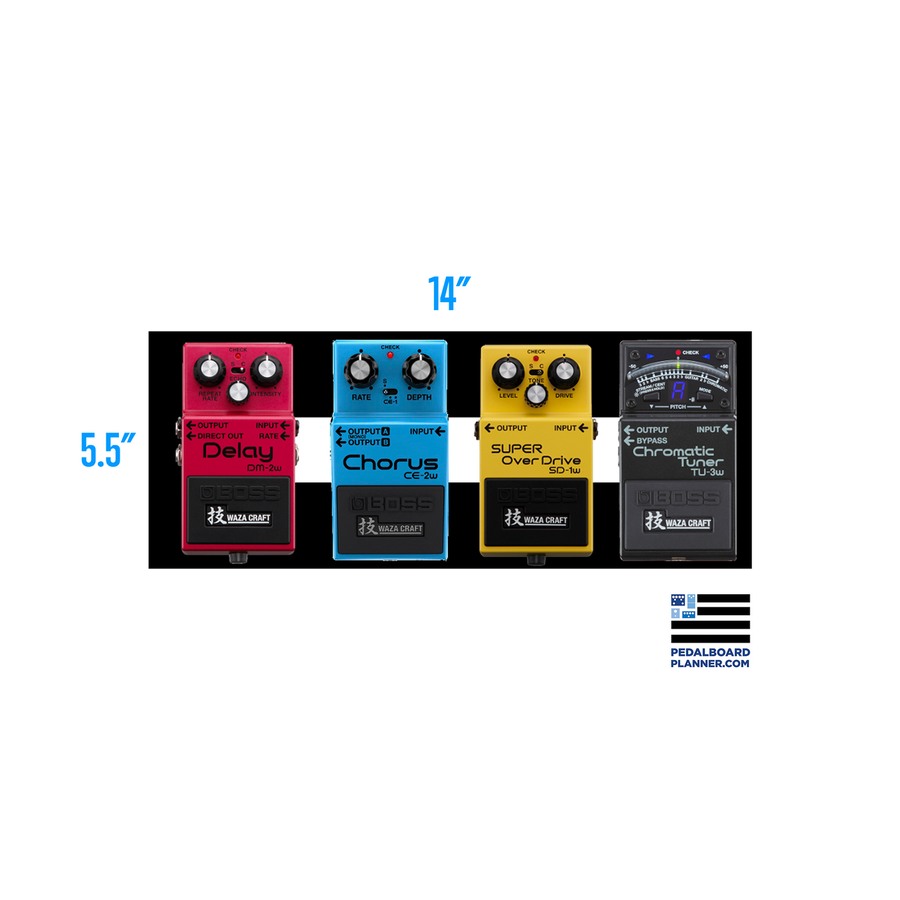
Small Pedalboard
Connecting the looper every time to the floor can complicate the start of practice. By fixing just a tuner, drive, and looper on a small pedalboard, you can always practice with the same setup. Initially, it's best to sort only the essentials on a small board.
이펙터 역할 페달 정리·운반
루프 활용 루퍼 세팅 고정·운반
추천 대상 루퍼, 튜너, 드라이브 정도의 작은 보드를 만들고 싶은 사람
톤 팁 작은 보드부터 시작하면 필요한 페달만 남기기 쉬움
연습 팁 루퍼를 체인 뒤쪽에 두고 전체 톤을 녹음해보기
세팅 메모 보드 크기와 파워서플라이 위치 확인
Guitar Cable
Guitar Cables
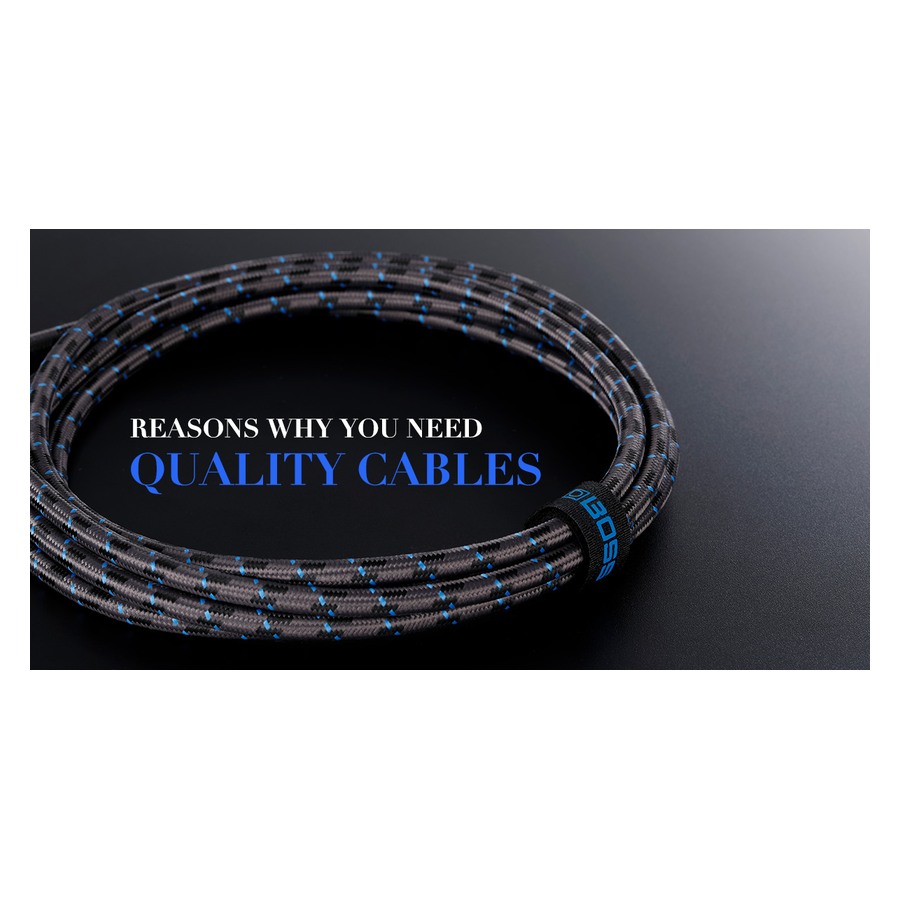
Using a looper requires a bit more setup for guitar cables. You'll need cables from the guitar to the pedalboard and from the pedalboard to the amp. If you experience noise issues, it’s quicker to check the cable connections than to adjust looper settings.
우선순위 필수
야외 활용 앰프 연결
역할 기타 신호 연결
이펙터 역할 기타·페달·앰프 연결
합주 역할 기타 신호 연결
루프 활용 기타·루퍼·앰프 연결
사용 목적 기타와 앰프·인터페이스 연결
추천 대상 루퍼를 처음 연결하는 사람
구매 팁 길이, 플러그 형태, 피복 내구성, 잡음 여부 확인
휴대 포인트 적당한 길이와 케이블 타이로 정리
세팅 팁 녹음 전 케이블을 움직여 잡음이 나는지 확인
톤 팁 케이블 접촉 불량은 이펙터 고장처럼 들릴 수 있음
준비 팁 집에서 케이블을 흔들어 잡음이 없는지 확인
연습 팁 기타에서 보드, 보드에서 앰프로 가는 케이블 2개를 준비
방구석 포인트 책상 연습은 3m, 방 안 이동은 5m가 편합니다.
체크 포인트 길이, 플러그 형태, 단선 여부 확인
세팅 메모 단선이나 접촉 잡음 확인
주의점 너무 짧은 케이블은 움직임을 제한함
Clip-on Tuner
Once a loop is recorded, the same performance plays back repeatedly. If you record out of tune, it will sound increasingly off-key as it repeats. Making it a habit to check your tuning before stepping on the looper is a very basic but important step.
용도 조율
우선순위 필수
야외 활용 연주 전후 빠른 튜닝
합주 역할 연주 전 튜닝 확인
루프 활용 루프 녹음 전 튜닝 확인
사용 목적 연습 전 튜닝
추천 대상 녹음한 루프가 계속 어색하게 들리는 사람
구매 팁 반응 속도, 화면 시인성, 크로매틱 모드 지원 확인
휴대 포인트 작고 가벼워 케이스 포켓에 상시 보관 가능
준비 팁 입실 전 한 번, 곡 사이에 한 번씩 조용히 확인
연습 팁 루프 녹음 전 반드시 튜닝 확인
방구석 포인트 앰프를 켜지 않아도 조용히 튜닝할 수 있습니다.
체크 포인트 배터리 잔량과 화면 밝기 확인
주의점 배터리 잔량을 미리 확인
세팅 메모 페달 튜너가 없다면 클립 튜너로도 충분
It's best to start looper practice with short loops. Instead of trying to create a long song right away, focus on accurately recording a 2-4 bar progression like Am-G-F-E, and try layering just one or two notes on top. Once the loop flows smoothly, you can then add more notes and change the rhythm.
When choosing equipment, the method of operation may be more important than the loop time. Depending on whether you prefer a one-button model, need a separate stop button, want to add drum rhythms, or require memory storage, your choices will vary. If you are a beginner, starting with a simple model to build your foot timing and then expanding is advisable.
When choosing equipment, the method of operation may be more important than the loop time. Depending on whether you prefer a one-button model, need a separate stop button, want to add drum rhythms, or require memory storage, your choices will vary. If you are a beginner, starting with a simple model to build your foot timing and then expanding is advisable.
한눈에 보기
8개
TC Electronic Ditto+ Looper
반복 녹음·연습 반주 · 간단한 코드 루프 녹음·반복 · 작고 직관적인 루퍼를 원하는 입문자 · 처음에는 짧은 2마디 진행부터 정확히 밟는 연습 · 2마디 코드 진행부터 정확히 밟는 연습 · 일반적으로 드라이브·공간계 뒤쪽에 배치
BOSS RC-5 Loop Station
리듬 내장 루퍼·저장형 연습 · 드럼 리듬과 함께 루프를 쌓고 싶은 사람 · 내장 리듬에 맞춰 코드 루프를 먼저 정확히 녹음 · 외부 풋스위치 확장 여부도 확인
BOSS RC-1 Loop Station
기본 루프 녹음·오버더빙 · 복잡한 기능보다 쉬운 조작이 중요한 사람 · 루프 시작점과 끝점을 발로 정확히 맞추는 연습 · 별도 정지 스위치 필요 여부 확인
Pedalboard Power Supply
페달 전원 공급 · 루퍼·이펙터 전원 공급 · 루퍼와 드라이브·딜레이 페달을 함께 쓰는 사람 · 전압과 전류가 맞지 않으면 노이즈나 고장이 생길 수 있음 · 루퍼 전원이 꺼지지 않도록 어댑터 규격 확인 · 9V 센터마이너스와 출력 전류 확인
Pedalboard Patch Cable
페달 간 신호 연결 · 페달 간 연결 · 페달 간 신호 연결 · 루퍼와 드라이브·딜레이 페달을 함께 연결하는 사람 · 접촉 불량이 있으면 잡음과 신호 끊김이 생김 · 합주 전 페달 순서와 케이블 접촉 상태 확인 · 소리가 안 나면 루퍼보다 패치 케이블부터 확인 · 보드 공간에 맞는 플러그 형태 선택 · 케이블이 당겨지지 않게 보드 위에 정리
Small Pedalboard
페달 정리·운반 · 루퍼 세팅 고정·운반 · 루퍼, 튜너, 드라이브 정도의 작은 보드를 만들고 싶은 사람 · 작은 보드부터 시작하면 필요한 페달만 남기기 쉬움 · 루퍼를 체인 뒤쪽에 두고 전체 톤을 녹음해보기 · 보드 크기와 파워서플라이 위치 확인
Guitar Cable
필수 · 앰프 연결 · 기타 신호 연결 · 기타·페달·앰프 연결 · 기타 신호 연결 · 기타·루퍼·앰프 연결 · 기타와 앰프·인터페이스 연결 · 루퍼를 처음 연결하는 사람 · 길이, 플러그 형태, 피복 내구성, 잡음 여부 확인 · 적당한 길이와 케이블 타이로 정리 · 녹음 전 케이블을 움직여 잡음이 나는지 확인 · 케이블 접촉 불량은 이펙터 고장처럼 들릴 수 있음 · 집에서 케이블을 흔들어 잡음이 없는지 확인 · 기타에서 보드, 보드에서 앰프로 가는 케이블 2개를 준비 · 책상 연습은 3m, 방 안 이동은 5m가 편합니다. · 길이, 플러그 형태, 단선 여부 확인 · 단선이나 접촉 잡음 확인 · 너무 짧은 케이블은 움직임을 제한함
Clip-on Tuner
조율 · 필수 · 연주 전후 빠른 튜닝 · 연주 전 튜닝 확인 · 루프 녹음 전 튜닝 확인 · 연습 전 튜닝 · 녹음한 루프가 계속 어색하게 들리는 사람 · 반응 속도, 화면 시인성, 크로매틱 모드 지원 확인 · 작고 가벼워 케이스 포켓에 상시 보관 가능 · 입실 전 한 번, 곡 사이에 한 번씩 조용히 확인 · 루프 녹음 전 반드시 튜닝 확인 · 앰프를 켜지 않아도 조용히 튜닝할 수 있습니다. · 배터리 잔량과 화면 밝기 확인 · 배터리 잔량을 미리 확인 · 페달 튜너가 없다면 클립 튜너로도 충분
이 포스팅은 쿠팡 파트너스 활동의 일환으로, 이에 따른 일정액의 수수료를 제공받습니다.
댓글 0
로그인 후 댓글을 작성할 수 있습니다.
첫 댓글을 남겨보세요.
이런 리스트는 어때요?


이런 리스트도 추천해요


🎲
여기서 멈추기엔 아쉽잖아?
다음에 뭘 볼지 고민하는 시간이 제일 아까워.
주사위가 대신 골라줄게 — 무슨 리스트가 튀어나올지는 굴려봐야 알지.
안 누르면… 평생 궁금하지 않겠어? 👀