Collection
Instruments
2026.06.26
Beginning to Create Electric Guitar Tones: A Collection of Effect Pedals
Essential effectors and equipment to know when composing your first pedalboard, from clean tones to drive, space effects, and repetitive practice
When you start playing electric guitar, having just the guitar and amp is usually enough, but as you try to replicate the sounds of your favorite songs, you'll naturally start to get interested in effect pedals. Even with the same guitar, stepping on an overdrive pedal gives a warm push to the sound, adding a delay opens up space, and layering on a chorus brings out the 80s-90s pop or ballad vibe. Effectors are not just tools that excessively change the sound; they are instruments that help you better comprehend the atmosphere of the pieces you practice and the nuances of your playing.
However, starting off by buying too many pedals can get confusing. You might easily get stuck on questions like what order to connect them, whether you need a power adapter, if patch cables need to be purchased separately, and how to split the amp gain and pedal gain. Therefore, at the beginner stage, it’s good to start by adding “the most commonly used tones” one by one. A couple of drives, one space effect, a tuner, power supplies, and possibly a practice looper will allow you to experience a wide variety of sounds.
This list is created for beginner electric guitarists setting up their first pedalboard. It includes options like multi-effectors that allow you to experience multiple tones at once, along with representative pedals such as overdrive, distortion, delay, reverb, and chorus, as well as essential items like power supplies and patch cables for actual connections. Rather than focusing on “what to buy first,” it’s beneficial to understand “what role the sounds play.”
However, starting off by buying too many pedals can get confusing. You might easily get stuck on questions like what order to connect them, whether you need a power adapter, if patch cables need to be purchased separately, and how to split the amp gain and pedal gain. Therefore, at the beginner stage, it’s good to start by adding “the most commonly used tones” one by one. A couple of drives, one space effect, a tuner, power supplies, and possibly a practice looper will allow you to experience a wide variety of sounds.
This list is created for beginner electric guitarists setting up their first pedalboard. It includes options like multi-effectors that allow you to experience multiple tones at once, along with representative pedals such as overdrive, distortion, delay, reverb, and chorus, as well as essential items like power supplies and patch cables for actual connections. Rather than focusing on “what to buy first,” it’s beneficial to understand “what role the sounds play.”
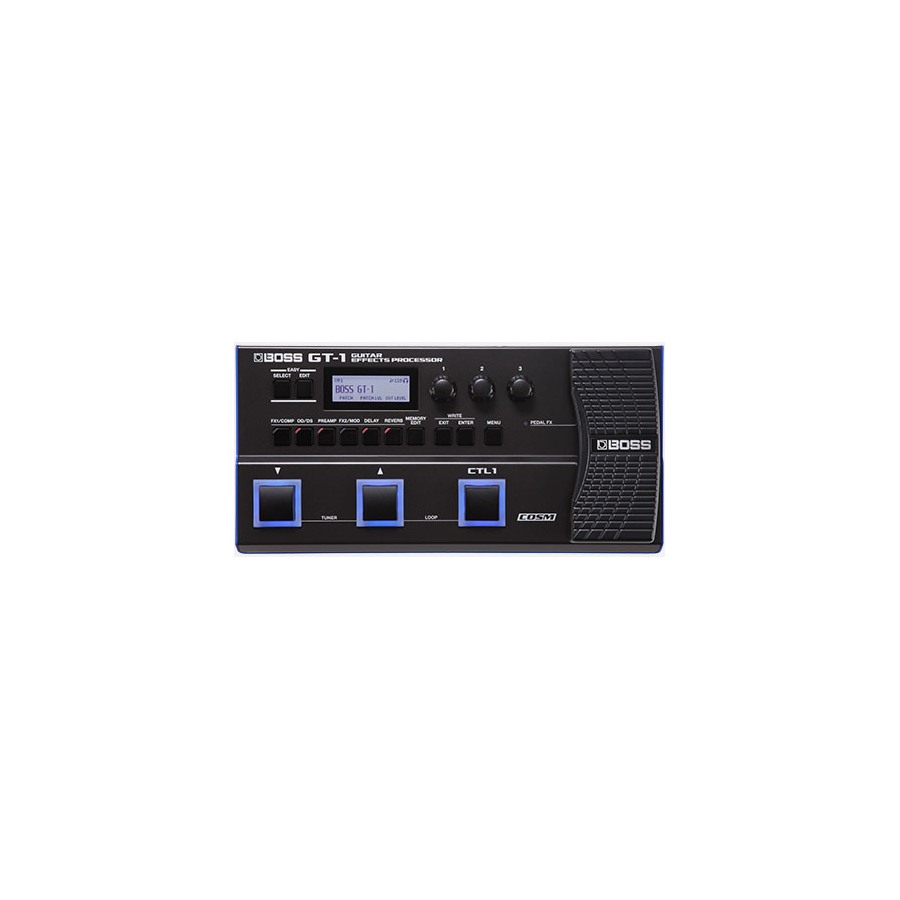
Beginner Guitar Multi-Effects Pedal
Beginner Multi-Effectors
Multi-effectors are a great choice for exploring the world of effect pedals for the first time. Before buying individual pedals, you can try out drives, space effects, and modulation all at once to find your preferred tones. The menu can be complex, so it's advisable to start with a few presets while getting used to the interplay of amp volume and guitar volume.
우선순위 선택 확장
연습 방식 헤드폰 + 다양한 톤 연습
이펙터 역할 여러 톤을 한 번에 경험
사용 목적 여러 톤 실험, 이펙트 연습, 헤드폰 연습
추천 대상 아직 좋아하는 톤이 명확하지 않은 초보
구매 팁 헤드폰 출력, 앰프 시뮬, 리듬 기능, USB 연결 확인
소음 체감 헤드폰 사용 시 실내 소음은 피킹음 위주
톤 팁 프리셋을 그대로 쓰기보다 게인과 볼륨부터 조금씩 조절
방구석 포인트 작은 소리로도 다양한 기타 톤을 실험할 수 있습니다.
체크 포인트 헤드폰 단자, AUX/USB, 프리셋 저장 방식 확인
세팅 메모 헤드폰 연습과 녹음 기능이 있는 모델이면 활용도 높음
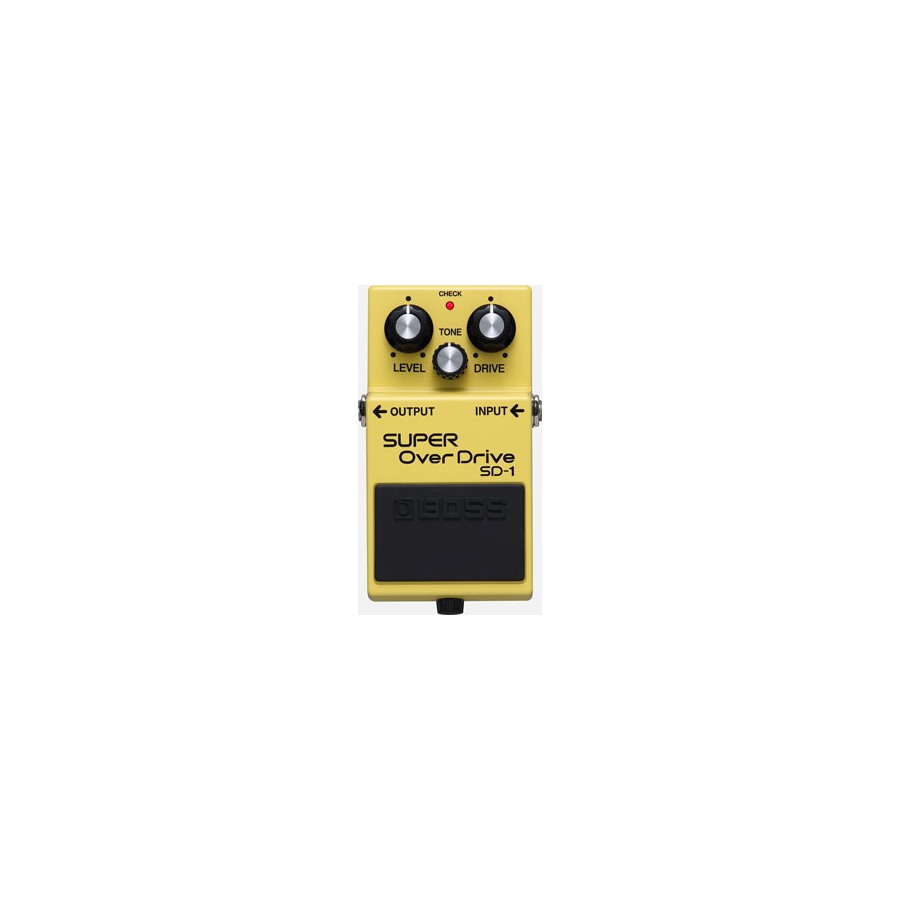
BOSS SD-1 Super OverDrive
Overdrive is the pedal that beginners can feel the effects of most easily. The SD-1 series pushes the sound forward without spreading it too thin, allowing the guitar to stand out even in a band mix. It's more natural to blend it with the amp's basic tone than to crank up the gain excessively.
이펙터 역할 가벼운 드라이브와 부스트
추천 대상 클린톤에서 살짝 밀어주는 록·블루스 톤을 원하는 사람
톤 팁 Drive를 낮추고 Level을 올리면 부스터처럼 활용 가능
세팅 메모 일반적으로 기타와 앰프 사이 앞단에 배치
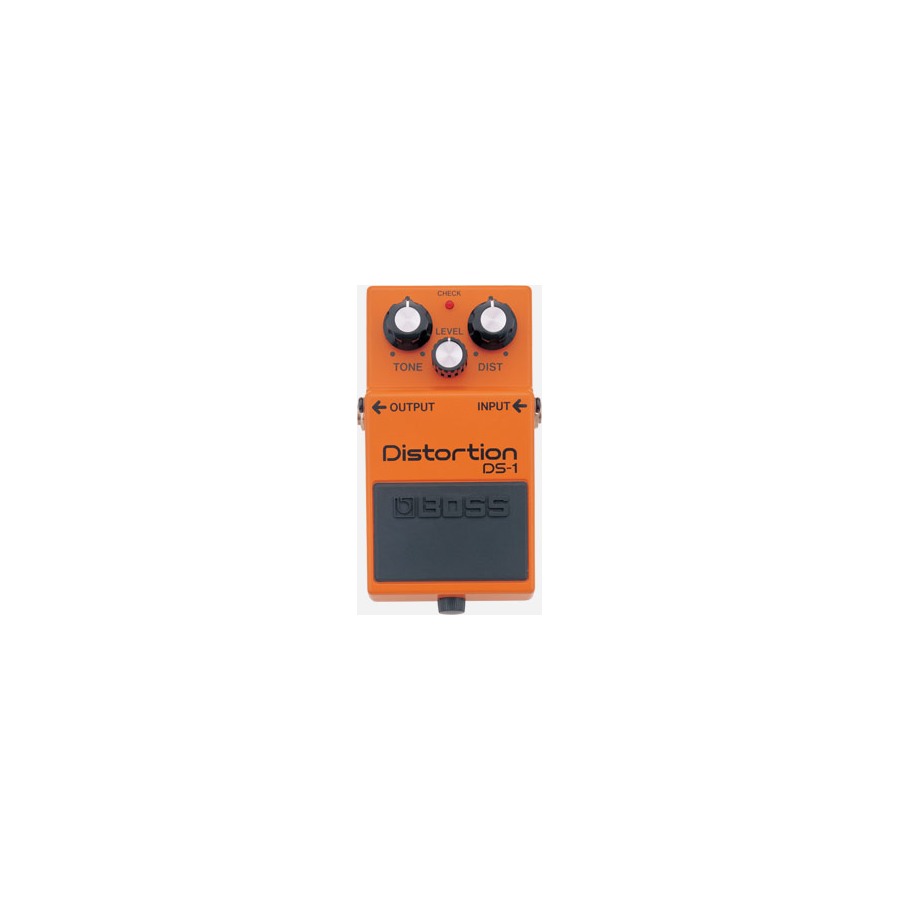
BOSS DS-1 Distortion
Distortion is the pedal that easily creates a strong electric guitar image. Representative models like the DS-1 deliver a satisfying feel when practicing power chords and riffs, but increasing the gain too much can lead to extra noise and muddiness. As a beginner, it’s good to start below half on the distortion and find the sweet spot where your picking is clearly heard.
이펙터 역할 강한 왜곡·록 리프 톤
추천 대상 록·펑크·하드록 리프를 연습하는 초보
톤 팁 Tone을 너무 높이면 날카로울 수 있어 앰프와 함께 조절
세팅 메모 오버드라이브보다 강한 게인 톤이 필요할 때 선택
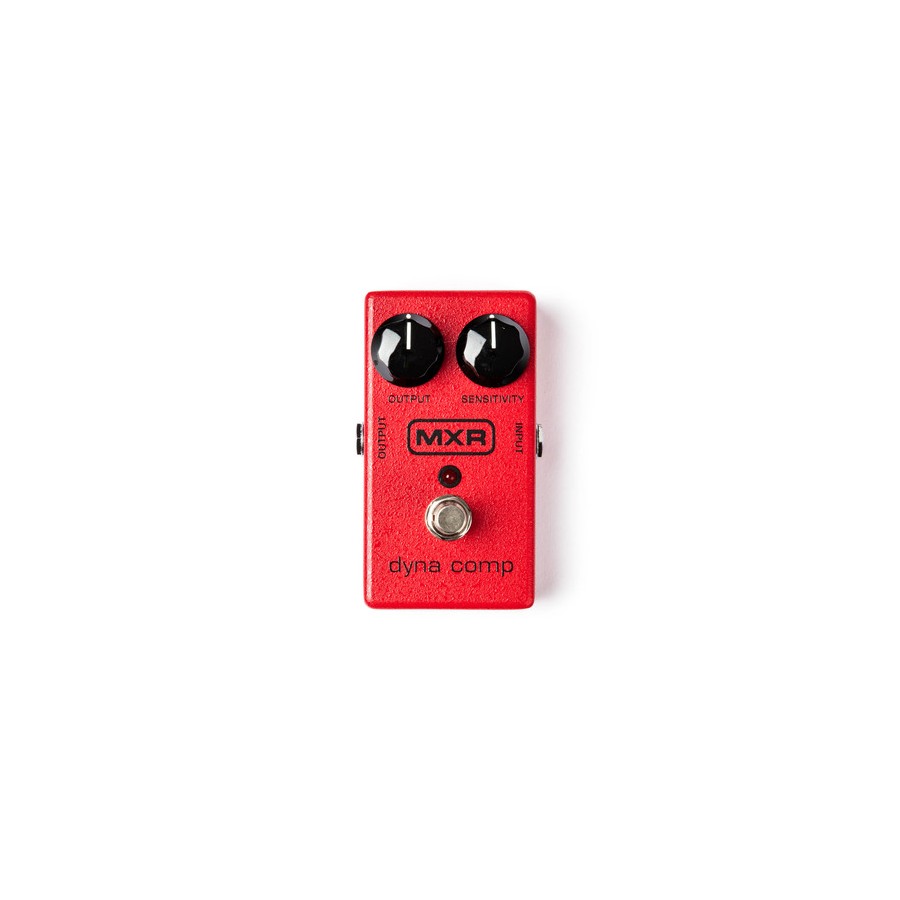
MXR Dyna Comp Compressor
Compressors may initially seem less exciting as their effects might not be immediately apparent, but their difference becomes clear when recording or practicing clean tones. They enhance the softer notes while compressing the louder ones, resulting in a more even performance. However, they should not be seen as replacements for practicing dynamics; it’s best to use them lightly for adjustment.
이펙터 역할 음량 균일화와 sustain 보강
추천 대상 클린톤에서 음이 들쭉날쭉한 느낌을 줄이고 싶은 사람
톤 팁 Sensitivity를 과하게 올리면 답답하고 노이즈가 늘 수 있음
세팅 메모 보통 드라이브 페달 앞쪽에 배치
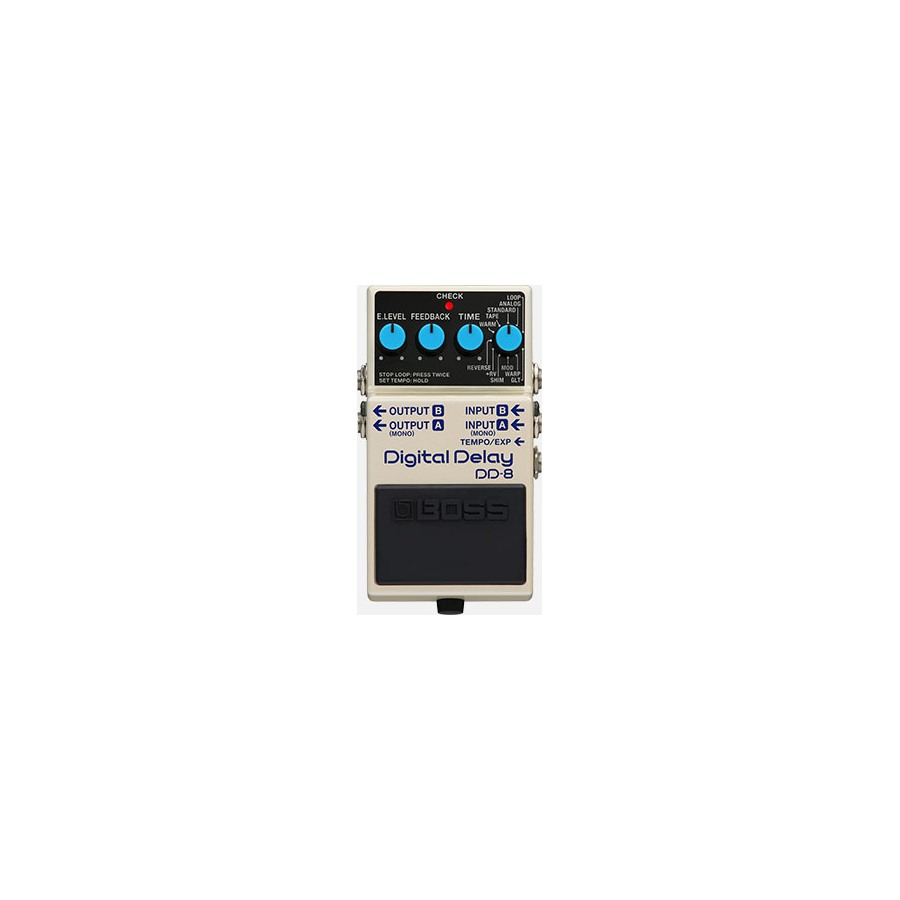
BOSS DD-8 Digital Delay
Delay creates an effect where a note repeats after being struck. In the beginning, having too many repeats can make your playing feel cluttered, so it’s better to start with a low mix level that adds a natural layering. It can be utilized broadly for solos, ballad arpeggios, and ambient practice.
이펙터 역할 반복음과 공간감
추천 대상 솔로와 아르페지오에 넓은 느낌을 더하고 싶은 사람
톤 팁 Effect Level을 낮게 두고 원음 뒤에 살짝 들리게 시작
세팅 메모 보통 드라이브 뒤, 리버브 앞이나 근처에 배치
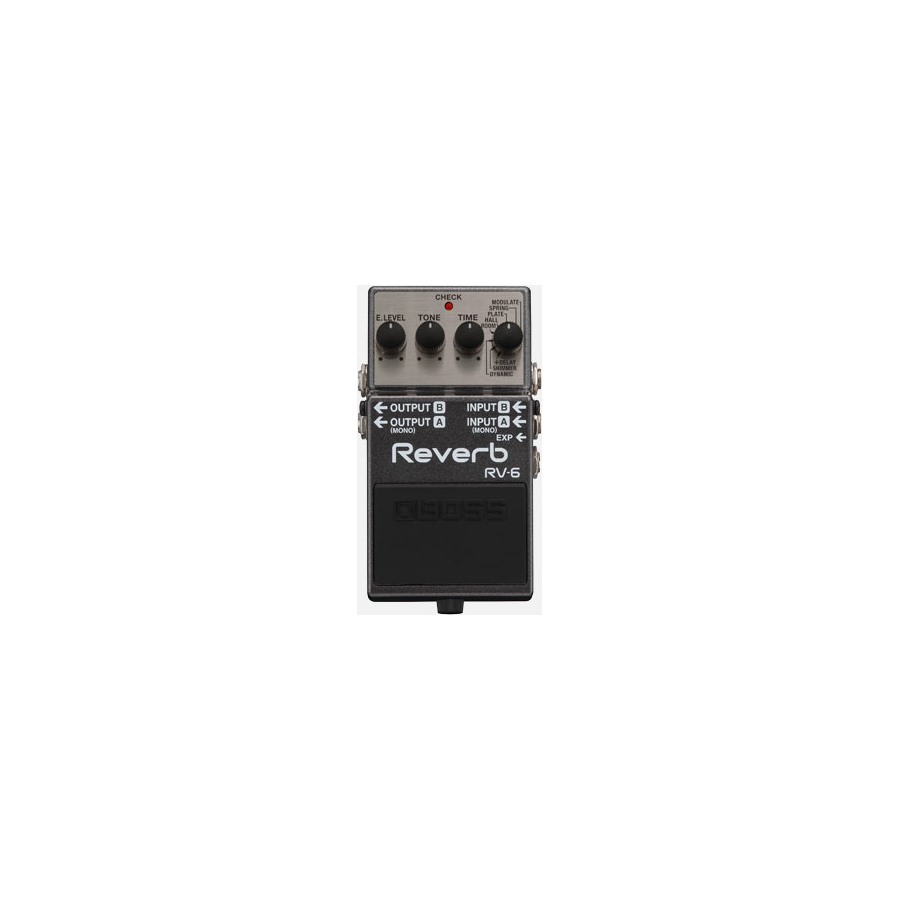
BOSS RV-6 Reverb
Reverb gives the feeling of guitar sounds resonating within a space. When used appropriately, it makes playing sound more natural and rich, but overusing it may blur chords and make the rhythm feel loose. At the beginner level, it's better to toggle it on and off according to the song's atmosphere rather than keeping it always on.
이펙터 역할 잔향과 공간감
추천 대상 소리가 너무 건조하게 느껴지는 사람
톤 팁 처음에는 Mix를 낮게 두고 Hall보다 Room/Plate 계열부터 테스트
세팅 메모 대부분 신호 체인의 뒤쪽에 배치
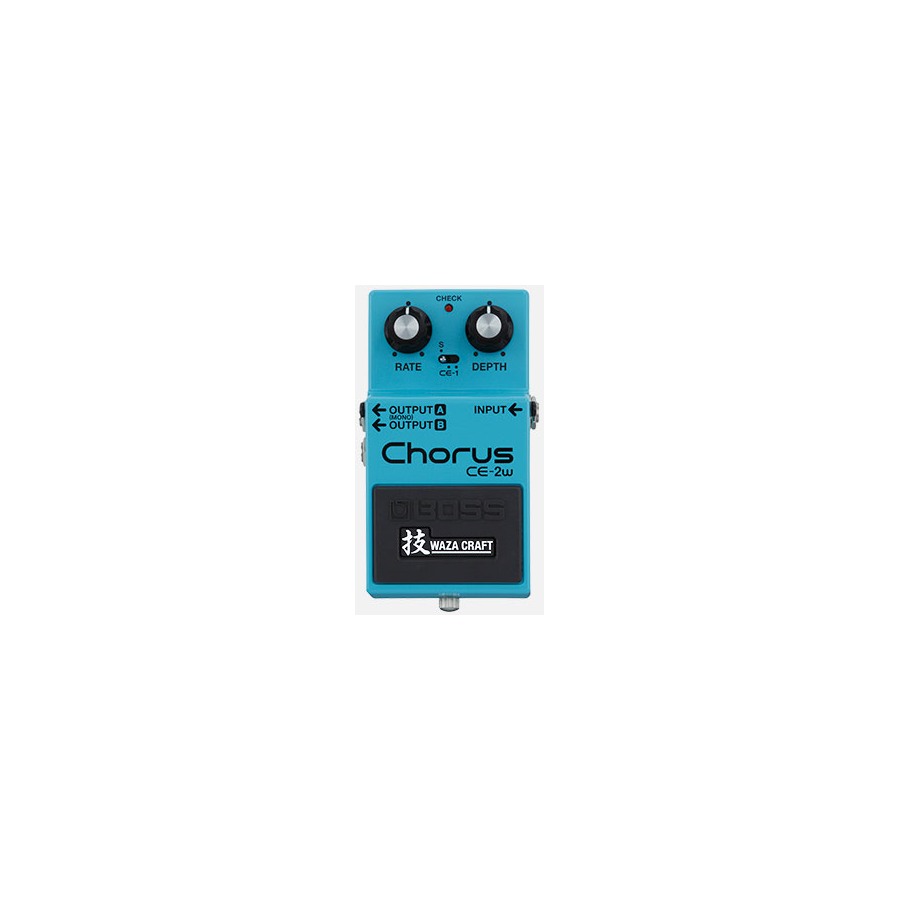
BOSS CE-2W Chorus
Chorus gives the feeling of a single guitar resonating in multiple layers. It's especially appealing in clean tone chords, arpeggios, and ballad accompaniment. Initially, instead of overdoing the effect, it’s best to set it just to widen the sound slightly, allowing it to blend naturally within the song.
이펙터 역할 두께감과 흔들림
추천 대상 깨끗한 클린톤에 넓고 반짝이는 느낌을 주고 싶은 사람
톤 팁 Depth를 과하게 올리면 멀미 나는 느낌이 날 수 있어 약하게 시작
세팅 메모 보통 드라이브 뒤, 딜레이·리버브 앞쪽에 배치
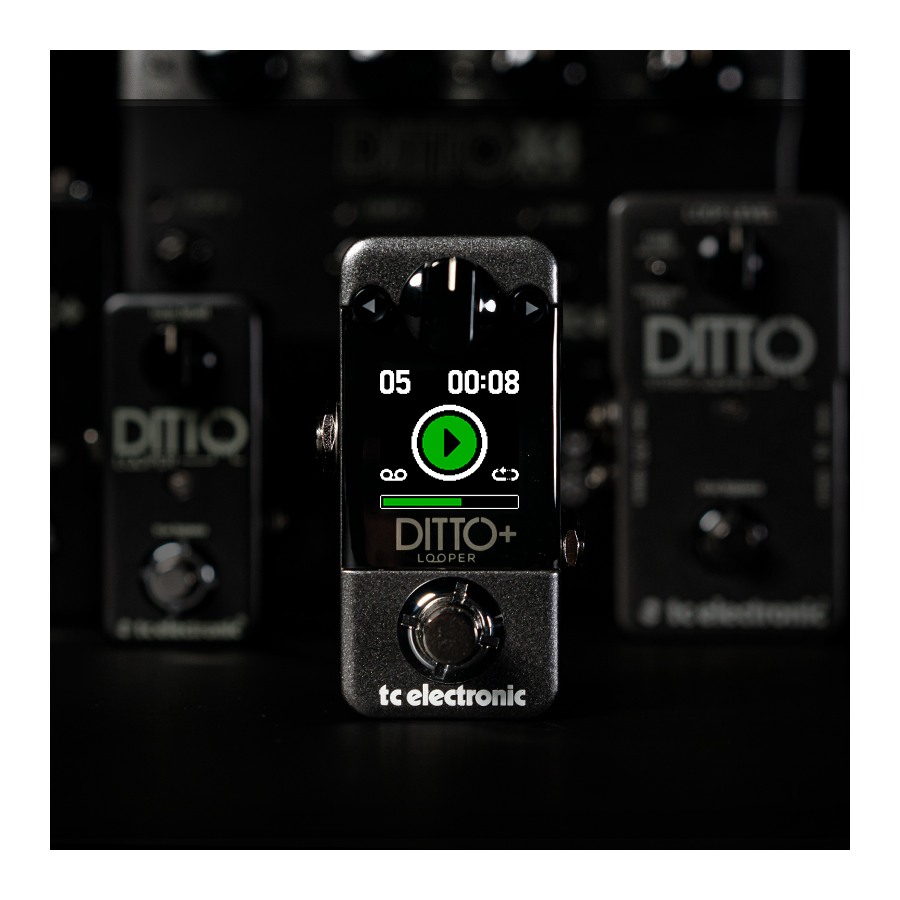
TC Electronic Ditto+ Looper
Loopers significantly enhance practice efficiency. By recording a chord progression first and layering scales, melodies, or solos on top, you can create the feeling of jamming even when alone. However, it requires practice to start and stop at the right timing with your foot, so beginning with very short loops is advisable.
이펙터 역할 반복 녹음·연습 반주
루프 활용 간단한 코드 루프 녹음·반복
추천 대상 작고 직관적인 루퍼를 원하는 입문자
톤 팁 처음에는 짧은 2마디 진행부터 정확히 밟는 연습
연습 팁 2마디 코드 진행부터 정확히 밟는 연습
세팅 메모 일반적으로 드라이브·공간계 뒤쪽에 배치
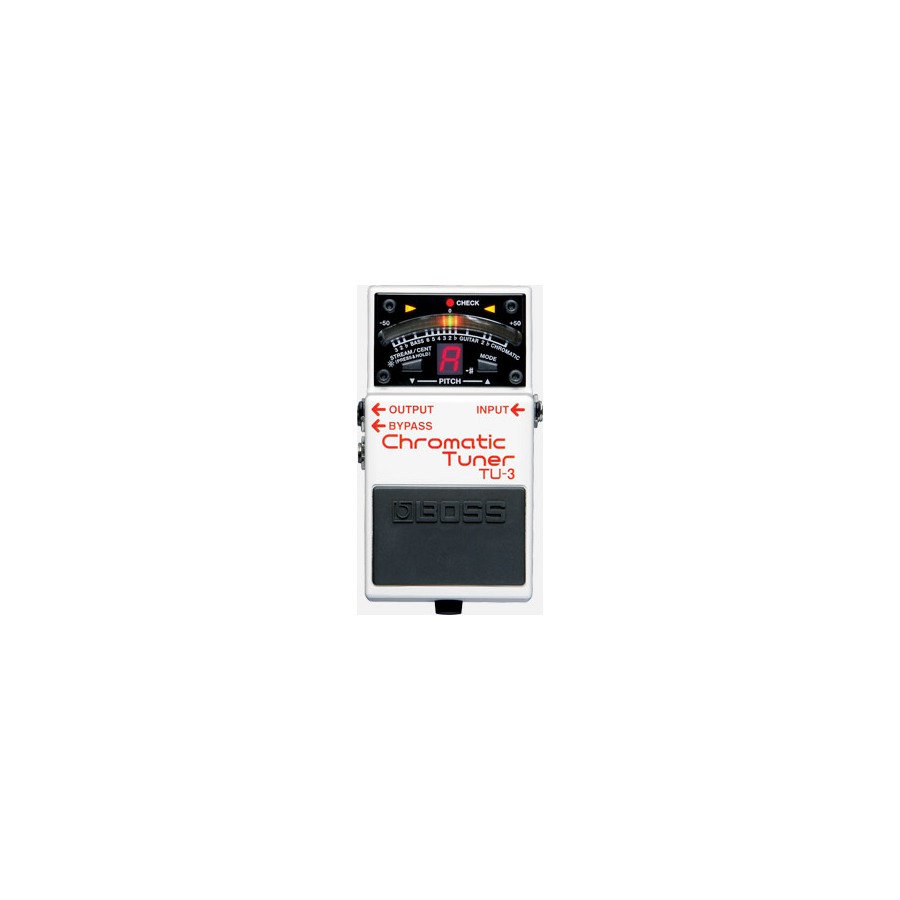
BOSS TU-3 Chromatic Tuner
Tuner pedals may not change the sound but are among the most practical tools in a pedalboard. They allow for quicker confirmation than clip tuners during jamming and can mute the signal while tuning for a clean setup. If you’re building your first pedalboard, it’s worth considering as quickly as drive pedals.
이펙터 역할 튜닝·뮤트 유틸리티
추천 대상 페달보드를 구성하고 합주까지 생각하는 사람
톤 팁 이펙트는 아니지만 정확한 튜닝이 모든 톤의 시작
세팅 메모 대부분 체인의 가장 앞쪽에 배치
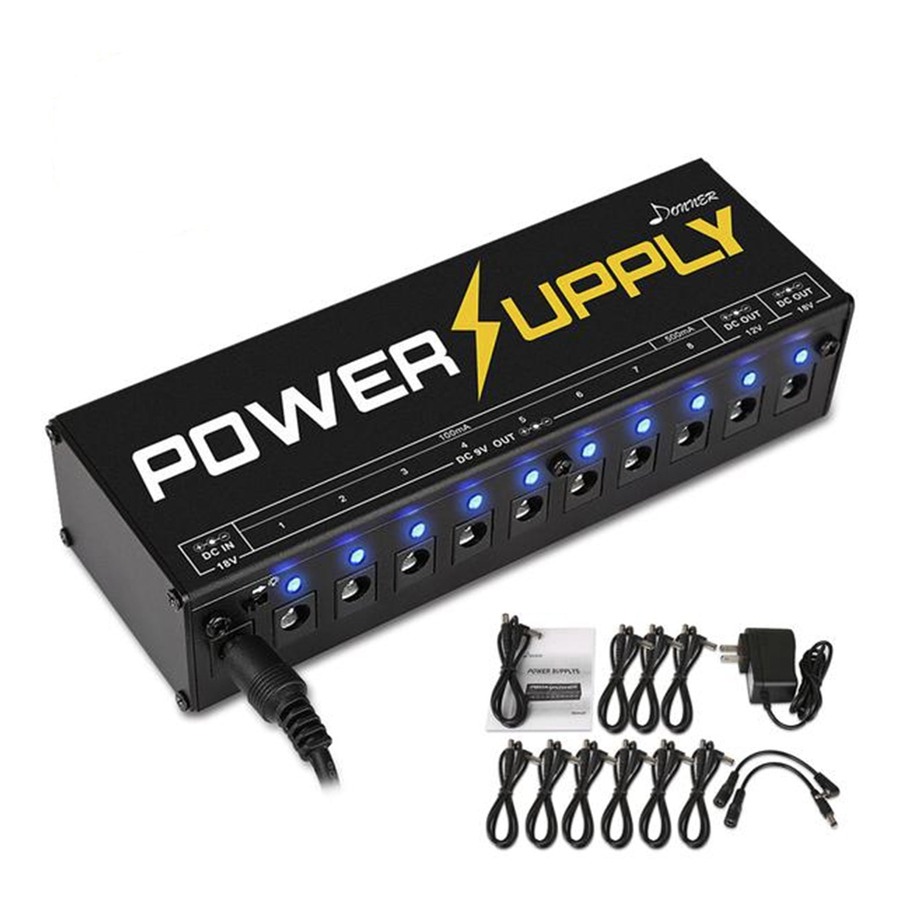
Pedalboard Power Supply
Using just one pedal may be fine with batteries or an adapter, but as your number of pedals increases, managing power becomes crucial. Power supplies help organize cables and provide stable power, reducing noise. Since different products have varying output methods, you should check each pedal's required voltage and current.
이펙터 역할 페달 전원 공급
루프 활용 루퍼·이펙터 전원 공급
추천 대상 루퍼와 드라이브·딜레이 페달을 함께 쓰는 사람
톤 팁 전압과 전류가 맞지 않으면 노이즈나 고장이 생길 수 있음
연습 팁 루퍼 전원이 꺼지지 않도록 어댑터 규격 확인
세팅 메모 9V 센터마이너스와 출력 전류 확인
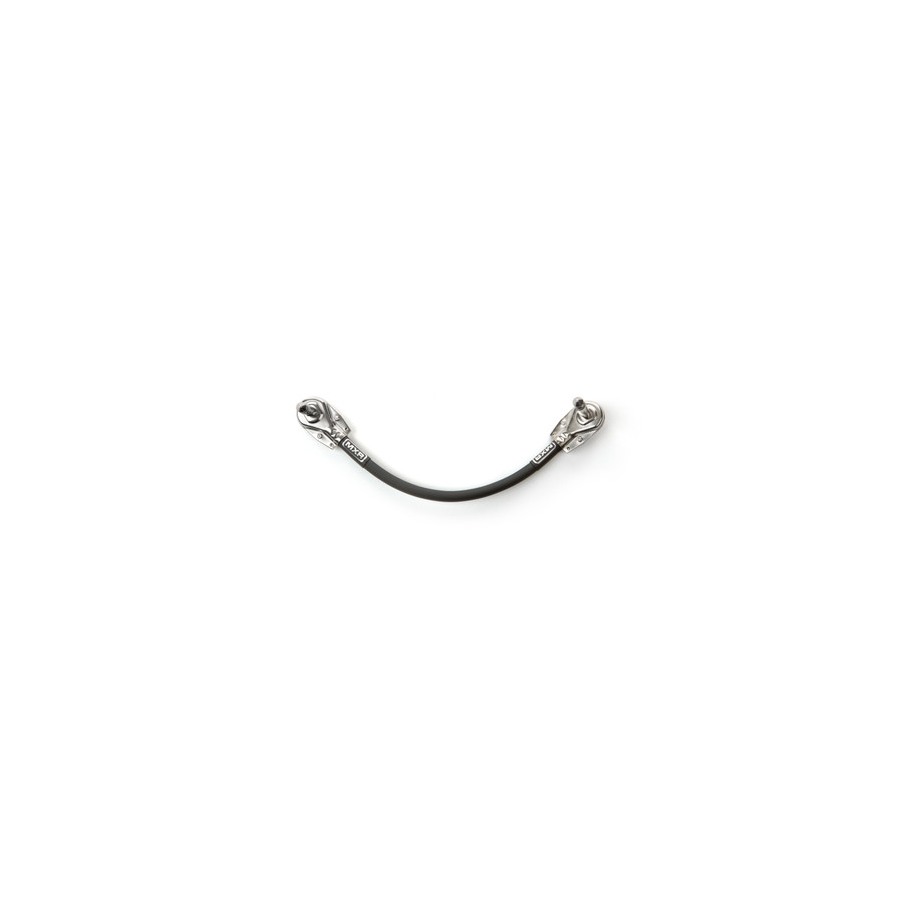
Pedalboard Patch Cable
Pedalboard Patch Cables
When buying your first pedal, you might expect that they automatically connect, which can be surprising. You'll need patch cables between pedals, which, along with power cables, will take up space on your board. Flat plugs are good for saving space, while overly stiff cables can make arrangements difficult on smaller boards.
이펙터 역할 페달 간 신호 연결
합주 역할 페달 간 연결
루프 활용 페달 간 신호 연결
추천 대상 루퍼와 드라이브·딜레이 페달을 함께 연결하는 사람
톤 팁 접촉 불량이 있으면 잡음과 신호 끊김이 생김
준비 팁 합주 전 페달 순서와 케이블 접촉 상태 확인
연습 팁 소리가 안 나면 루퍼보다 패치 케이블부터 확인
세팅 메모 보드 공간에 맞는 플러그 형태 선택
주의점 케이블이 당겨지지 않게 보드 위에 정리
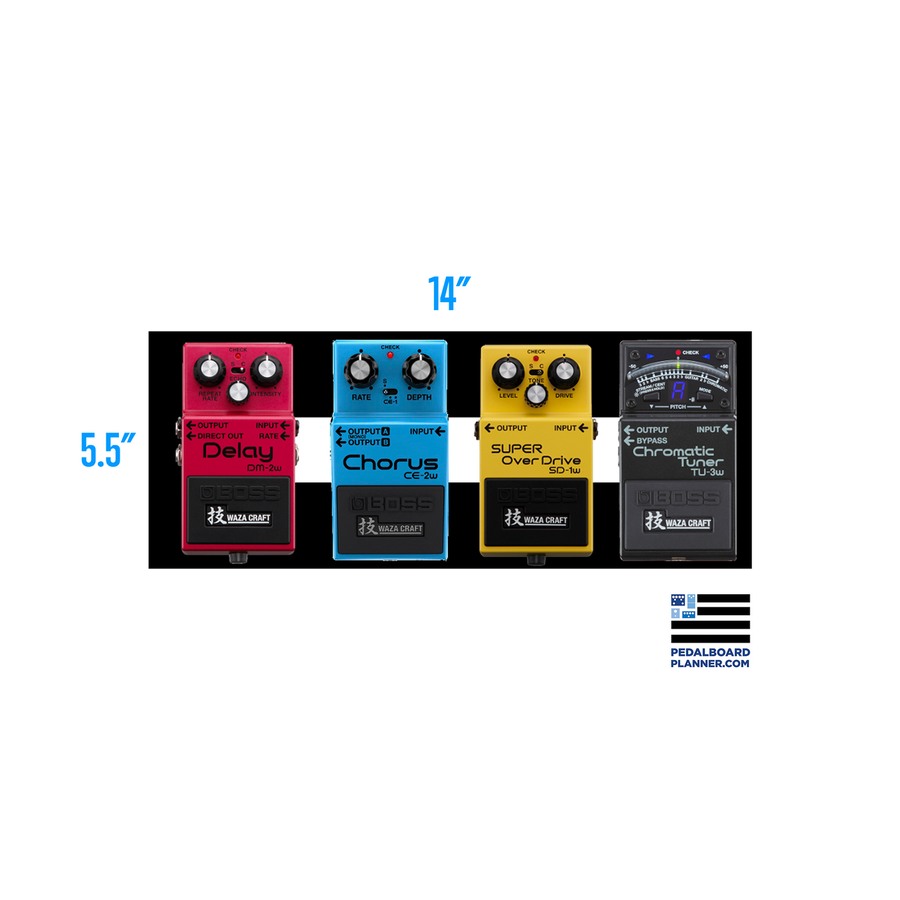
Small Pedalboard
A pedalboard isn’t just for making equipment look cool. By fixing the order of connections and cables, you can quickly reproduce the same tone every time you practice. Beginners should use a small board to organize only the necessary pedals; starting with a large board can tempt you to fill empty spaces too quickly.
이펙터 역할 페달 정리·운반
루프 활용 루퍼 세팅 고정·운반
추천 대상 루퍼, 튜너, 드라이브 정도의 작은 보드를 만들고 싶은 사람
톤 팁 작은 보드부터 시작하면 필요한 페달만 남기기 쉬움
연습 팁 루퍼를 체인 뒤쪽에 두고 전체 톤을 녹음해보기
세팅 메모 보드 크기와 파워서플라이 위치 확인
Guitar Cable
Guitar Cables
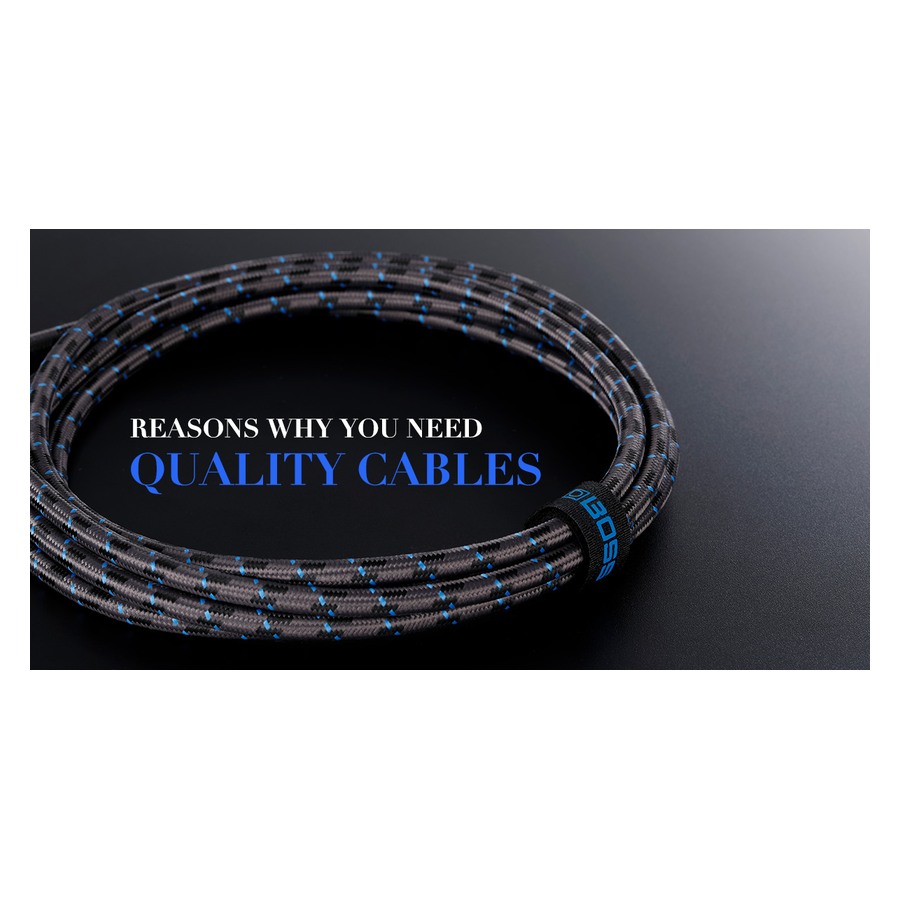
As you create a pedalboard, guitar cables become more important. You need a cable going from the guitar to the board and another from the board to the amp, with patch cables in between. When experiencing issues with sound or excessive noise, developing the habit of checking the cables first, rather than the pedals, is a good practice.
우선순위 필수
야외 활용 앰프 연결
역할 기타 신호 연결
이펙터 역할 기타·페달·앰프 연결
합주 역할 기타 신호 연결
루프 활용 기타·루퍼·앰프 연결
사용 목적 기타와 앰프·인터페이스 연결
추천 대상 루퍼를 처음 연결하는 사람
구매 팁 길이, 플러그 형태, 피복 내구성, 잡음 여부 확인
휴대 포인트 적당한 길이와 케이블 타이로 정리
세팅 팁 녹음 전 케이블을 움직여 잡음이 나는지 확인
톤 팁 케이블 접촉 불량은 이펙터 고장처럼 들릴 수 있음
준비 팁 집에서 케이블을 흔들어 잡음이 없는지 확인
연습 팁 기타에서 보드, 보드에서 앰프로 가는 케이블 2개를 준비
방구석 포인트 책상 연습은 3m, 방 안 이동은 5m가 편합니다.
체크 포인트 길이, 플러그 형태, 단선 여부 확인
세팅 메모 단선이나 접촉 잡음 확인
주의점 너무 짧은 케이블은 움직임을 제한함
While having many effectors can look impressive, great tones start from truly understanding a few pieces of equipment. Initially, it’s better to learn the basic sounds of the amp and guitar with a multi-effector or just one overdrive, and then add roles you feel are lacking one at a time, like delay, reverb, or chorus.
When purchasing pedals, don’t just look at the units themselves, but also consider power sources, patch cables, and board space. Each time you add a pedal, the connections and noise management also increase. Starting with a small and simple pedalboard, and slowly expanding as your frequently played songs and genres become clearer is the most sustainable approach.
When purchasing pedals, don’t just look at the units themselves, but also consider power sources, patch cables, and board space. Each time you add a pedal, the connections and noise management also increase. Starting with a small and simple pedalboard, and slowly expanding as your frequently played songs and genres become clearer is the most sustainable approach.
한눈에 보기
13개
Beginner Guitar Multi-Effects Pedal
선택 확장 · 헤드폰 + 다양한 톤 연습 · 여러 톤을 한 번에 경험 · 여러 톤 실험, 이펙트 연습, 헤드폰 연습 · 아직 좋아하는 톤이 명확하지 않은 초보 · 헤드폰 출력, 앰프 시뮬, 리듬 기능, USB 연결 확인 · 헤드폰 사용 시 실내 소음은 피킹음 위주 · 프리셋을 그대로 쓰기보다 게인과 볼륨부터 조금씩 조절 · 작은 소리로도 다양한 기타 톤을 실험할 수 있습니다. · 헤드폰 단자, AUX/USB, 프리셋 저장 방식 확인 · 헤드폰 연습과 녹음 기능이 있는 모델이면 활용도 높음
BOSS SD-1 Super OverDrive
가벼운 드라이브와 부스트 · 클린톤에서 살짝 밀어주는 록·블루스 톤을 원하는 사람 · Drive를 낮추고 Level을 올리면 부스터처럼 활용 가능 · 일반적으로 기타와 앰프 사이 앞단에 배치
BOSS DS-1 Distortion
강한 왜곡·록 리프 톤 · 록·펑크·하드록 리프를 연습하는 초보 · Tone을 너무 높이면 날카로울 수 있어 앰프와 함께 조절 · 오버드라이브보다 강한 게인 톤이 필요할 때 선택
MXR Dyna Comp Compressor
음량 균일화와 sustain 보강 · 클린톤에서 음이 들쭉날쭉한 느낌을 줄이고 싶은 사람 · Sensitivity를 과하게 올리면 답답하고 노이즈가 늘 수 있음 · 보통 드라이브 페달 앞쪽에 배치
BOSS DD-8 Digital Delay
반복음과 공간감 · 솔로와 아르페지오에 넓은 느낌을 더하고 싶은 사람 · Effect Level을 낮게 두고 원음 뒤에 살짝 들리게 시작 · 보통 드라이브 뒤, 리버브 앞이나 근처에 배치
BOSS RV-6 Reverb
잔향과 공간감 · 소리가 너무 건조하게 느껴지는 사람 · 처음에는 Mix를 낮게 두고 Hall보다 Room/Plate 계열부터 테스트 · 대부분 신호 체인의 뒤쪽에 배치
BOSS CE-2W Chorus
두께감과 흔들림 · 깨끗한 클린톤에 넓고 반짝이는 느낌을 주고 싶은 사람 · Depth를 과하게 올리면 멀미 나는 느낌이 날 수 있어 약하게 시작 · 보통 드라이브 뒤, 딜레이·리버브 앞쪽에 배치
TC Electronic Ditto+ Looper
반복 녹음·연습 반주 · 간단한 코드 루프 녹음·반복 · 작고 직관적인 루퍼를 원하는 입문자 · 처음에는 짧은 2마디 진행부터 정확히 밟는 연습 · 2마디 코드 진행부터 정확히 밟는 연습 · 일반적으로 드라이브·공간계 뒤쪽에 배치
BOSS TU-3 Chromatic Tuner
튜닝·뮤트 유틸리티 · 페달보드를 구성하고 합주까지 생각하는 사람 · 이펙트는 아니지만 정확한 튜닝이 모든 톤의 시작 · 대부분 체인의 가장 앞쪽에 배치
Pedalboard Power Supply
페달 전원 공급 · 루퍼·이펙터 전원 공급 · 루퍼와 드라이브·딜레이 페달을 함께 쓰는 사람 · 전압과 전류가 맞지 않으면 노이즈나 고장이 생길 수 있음 · 루퍼 전원이 꺼지지 않도록 어댑터 규격 확인 · 9V 센터마이너스와 출력 전류 확인
Pedalboard Patch Cable
페달 간 신호 연결 · 페달 간 연결 · 페달 간 신호 연결 · 루퍼와 드라이브·딜레이 페달을 함께 연결하는 사람 · 접촉 불량이 있으면 잡음과 신호 끊김이 생김 · 합주 전 페달 순서와 케이블 접촉 상태 확인 · 소리가 안 나면 루퍼보다 패치 케이블부터 확인 · 보드 공간에 맞는 플러그 형태 선택 · 케이블이 당겨지지 않게 보드 위에 정리
Small Pedalboard
페달 정리·운반 · 루퍼 세팅 고정·운반 · 루퍼, 튜너, 드라이브 정도의 작은 보드를 만들고 싶은 사람 · 작은 보드부터 시작하면 필요한 페달만 남기기 쉬움 · 루퍼를 체인 뒤쪽에 두고 전체 톤을 녹음해보기 · 보드 크기와 파워서플라이 위치 확인
Guitar Cable
필수 · 앰프 연결 · 기타 신호 연결 · 기타·페달·앰프 연결 · 기타 신호 연결 · 기타·루퍼·앰프 연결 · 기타와 앰프·인터페이스 연결 · 루퍼를 처음 연결하는 사람 · 길이, 플러그 형태, 피복 내구성, 잡음 여부 확인 · 적당한 길이와 케이블 타이로 정리 · 녹음 전 케이블을 움직여 잡음이 나는지 확인 · 케이블 접촉 불량은 이펙터 고장처럼 들릴 수 있음 · 집에서 케이블을 흔들어 잡음이 없는지 확인 · 기타에서 보드, 보드에서 앰프로 가는 케이블 2개를 준비 · 책상 연습은 3m, 방 안 이동은 5m가 편합니다. · 길이, 플러그 형태, 단선 여부 확인 · 단선이나 접촉 잡음 확인 · 너무 짧은 케이블은 움직임을 제한함
이 포스팅은 쿠팡 파트너스 활동의 일환으로, 이에 따른 일정액의 수수료를 제공받습니다.
댓글 0
로그인 후 댓글을 작성할 수 있습니다.
첫 댓글을 남겨보세요.
이런 리스트는 어때요?


이런 리스트도 추천해요




🎲
여기서 멈추기엔 아쉽잖아?
다음에 뭘 볼지 고민하는 시간이 제일 아까워.
주사위가 대신 골라줄게 — 무슨 리스트가 튀어나올지는 굴려봐야 알지.
안 누르면… 평생 궁금하지 않겠어? 👀